2D Game Development

Tiles
Tiles
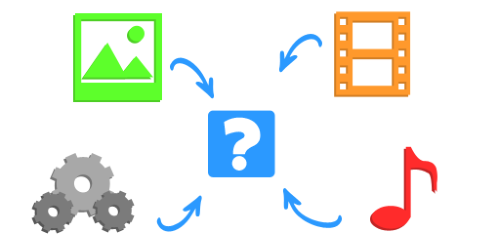
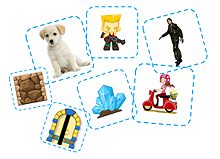
Tiles contain the images, audio and behaviors that create the identity of your assets.

Process
Process
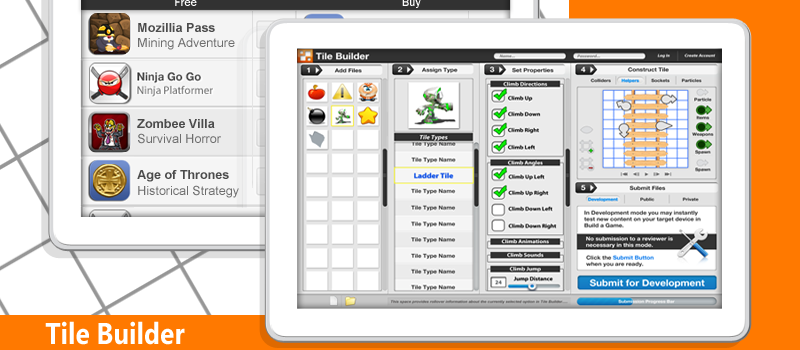
Our 5 step process streamlines developing and importing custom content in to Build a Game.

Review
Review
Submit your Tiles and have them ready for use in Build a Game and the Market Center.

Features
Features
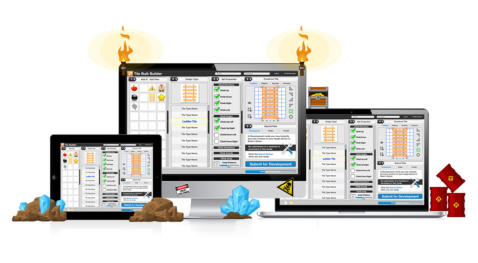
Discover the tools and options that connect your custom content with Build a Game.

Benefits
Benefits
Save time and energy by making Tile Builder a part of your development pipeline.

Work Flow
Work Flow
Improve your workflow with a proven process for constructing your content in Build a Game.
Tiles
Tile Assets
Images
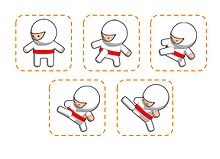
Animations

Audio
Behaviors and Settings
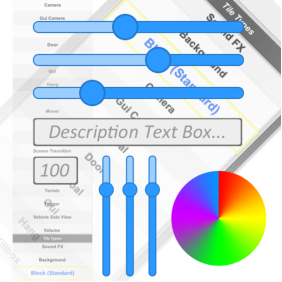
Process

Step 1. Load Files
Start by creating a project and loading your content in to Tile Builder.
Files are automatically copied and stored together in the project folder for you.

Step 2. Assign Type
Next determine how your tile is supposed to behave.
Choose the Tile Type that represents the behavior. And remember this is a safe process, you can select different types and see what they have to offer.

Step 3. Set Properties
Next we define the rules of our chosen Tile Type.
Scroll through the list of options and setup the tile to act the way you want.

Step 4. Construct Tile
Time for the final details of your tile. Build your tiles hard surfaces and adjust the object.
With this level of control you make every detail count and ensure the highest level of quality for each tile made.

Step 5. Submit Files
The final step is sending the tiles to Build a Game Universe!
Submit the tileset and start using them in Build a Game.
Review

Features

Intuitive Process

Tile Set Organizer

Tile Types

Clone Properties

Particles

Fonts

Performance

Auto Optimizations

Tile Sets

Submit Tiles

Multi-platform

Tiles
Benefits

Workflow
